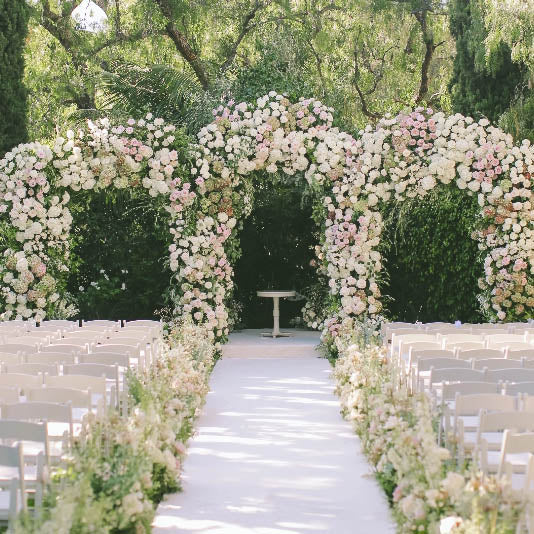


Bouquet Breakdown:
How To Create A Pro Flower Arrangement
A beginner-friendly breakdown on what you should use to create a professional (and expensive) flower bouquet
You’ve decided you want to learn how to create a flower bouquet and be the hit of all of your special events. The only problem? You have no idea how to get started. Flowers can be very intricate and sometimes require more knowledge than just stuffing a bunch in a vase together. This is why we’ve decided to write this step-by-step breakdown on exactly how to create a floral arrangement that looks like it was created by the pros.
1. Greenery
While keeping budget in mind, we’re going to head to your local trader joes/grocery store/farmer's market.
Depending on your budget, you can choose 1-4 flowers to include in your bouquet but try and have at least:
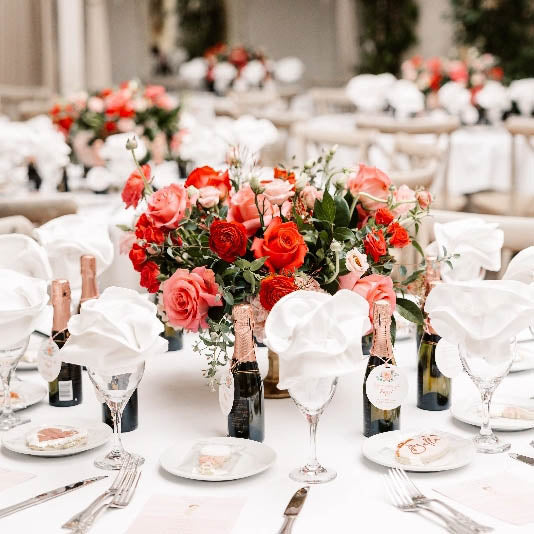
1 base greenery (examples: hydrangea, eucalyptus, Italian ruscus)
1 focal point floral (examples: tulips, peonies, roses)
1 filler flower (examples: baby's breath, ranunculus, spray roses)
(bonus additives for more flower options: hellebores, sweet peas, statice).
2. Mechanics
What kind of vase are you planning on putting your bouquet in? Is it short and wide? Tall and thin? The size of your container will dictate how long you keep your flowers when prepping them, so keep that in mind!
The most popular “mechanics” of flower arranging are:
-
Oasis brick (foam block)
-
Chicken Wire
-
Floral tape grid
The most often used technique is the floral tape grid method- it’s super simple and it’s cheap!. This technique is simply taking floral tape (purchase cheaply at Walmart, Michaels, or Hobby Lobby) or if you’re short on time, regular clear tape that I know you have stashed in your “junk drawer” somewhere.
Simply take your tape and on a clean and dry vase (very important), make a Tic-Tac-Toe grid. That’s it- really! This grid creates a stronghold for your florals so that they don’t lay wherever they want- this will give it a tidy, professional look.
Tools you’d want to use for your at-home arrangement:
-A vase (duh)
-Clippers or very sharp scissors
-Watering can with fresh, lukewarm water
-Flower food (if you’re in a bind and don’t have any flower food around, use a drop of bleach to help clean your water. No more than a drop or two!
3. Keepin' it Clean
Arguably the most important step to creating a bouquet that lasts, make sure not to skip this step:
After your vase is tic-tac-toe ready and has been filled with lukewarm water (not hot and not cold- trust me), add in half of your flower food packet and save the other half for when you replenish the water in a few days' time.
Fun fact: did you know that flower food isn’t actually feeding your flowers? What flower food does is help kill the bacteria in the water so your flowers can last weeks instead of just days! So cool, right?
Make sure you stir/mix in the flower food so that it doesn’t clump to the bottom of your stems.
4. Prep Time
Your next step before you pop those florals in your vase…it’s time to prep!
Take each individual stem and clean off any leaves, low/small branches, or brown petals by simply snipping them off at its base with your fingers or clippers.
Once you insert your stems, you don’t want any leaves, petals, seeds, or pollen to get into your water. When you allow these things into the water, the bacteria on them will start to grow in the water and quickly kill your arrangement.
This step + adding flower food will ensure that your bouquet will last for weeks at a time!
I know you’re looking at your freshly purchased flowers thinking, “what a waste of beautiful greenery!” But I promise you, it is worth it. Plus, once your beginner-friendly bouquet is finished, it will help it look as if it was created by a professional.
5. Fresh cut
The last step before you move forward… is giving each and every stem a fresh, angled cut before you put it into your vase. This will allow it to fully drink the water and trust me, your flowers will be thirsty.
Start with your greenery.
Then add in your focal flowers.
Next, add in any “other” flowers you have (if you couldn’t choose just one focal flower)
Finally, add in your filler flowers.
So there you have it! With these tips, tricks, and pointers, you can now create some amazing floral arrangements with ease. But don’t stop here if you really want to master the art of flower arranging! Check out our online Floral Education which offers you even more tips on how to improve your skills.
But in the end, remember that the best way to learn how to make the perfect bouquet (and avoid any mishaps) is through practice. No matter how many times you need to experiment in order to master it, you can always fall back on these simple rules of thumb to keep you on the right track.
Always Keep Blooming,
Amy Marella of The Hidden Garden


Comments
Hi Xiomara, thank you so much for leaving your comment! We have temporarily taken down our course to make it better for our customers! Thanks for understanding.
Hi,
I tried the link online floral education in this article and it is not working.